Introduction: Re-roofing a hipped roof is a significant home improvement project that requires careful planning, proper technique, and skilled craftsmanship. Whether your existing roof is showing signs of wear and tear, experiencing leaks, or nearing the end of its lifespan, re-roofing is a cost-effective solution to enhance your home’s durability, functionality, and aesthetic appeal. In this comprehensive guide, Sevenoaks Roofers will walk you through the step-by-step process of re-roofing a hipped roof, ensuring a successful and long-lasting outcome.
Step 1: Assessment and Preparation
The first step in re-roofing a hipped roof is to assess the existing roof’s condition thoroughly. This includes inspecting the roofing materials, identifying any damage or deterioration, and assessing the roof’s structural integrity. Once the assessment is complete, prepare the work area by clearing debris, protecting surrounding landscaping and structures, and ensuring safety measures are in place.
Step 2: Removal of Old Roofing Materials
Next, remove the old roofing materials from the hipped roof, including shingles, underlayment, flashing, and any damaged or deteriorated components. Use appropriate tools and techniques to carefully strip away the old roofing materials without causing damage to the roof structure. Dispose of the old materials responsibly and ensure the roof deck is clean and debris-free.
Step 3: Inspection and Repair
With the old roofing materials removed, inspect the roof deck and underlying structure for any signs of damage, rot, or deterioration. Replace any damaged or rotted sections of the roof deck, repair or reinforce the structural components as needed, and address any underlying issues that may compromise the integrity of the new roof system.
Step 4: Installation of Underlayment and Flashing
Once the roof deck is in good condition, install a high-quality underlayment to provide additional protection against water infiltration and moisture damage. Install flashing along the hips, valleys, and other vulnerable roof areas to prevent water from seeping into the underlying structure and causing leaks.
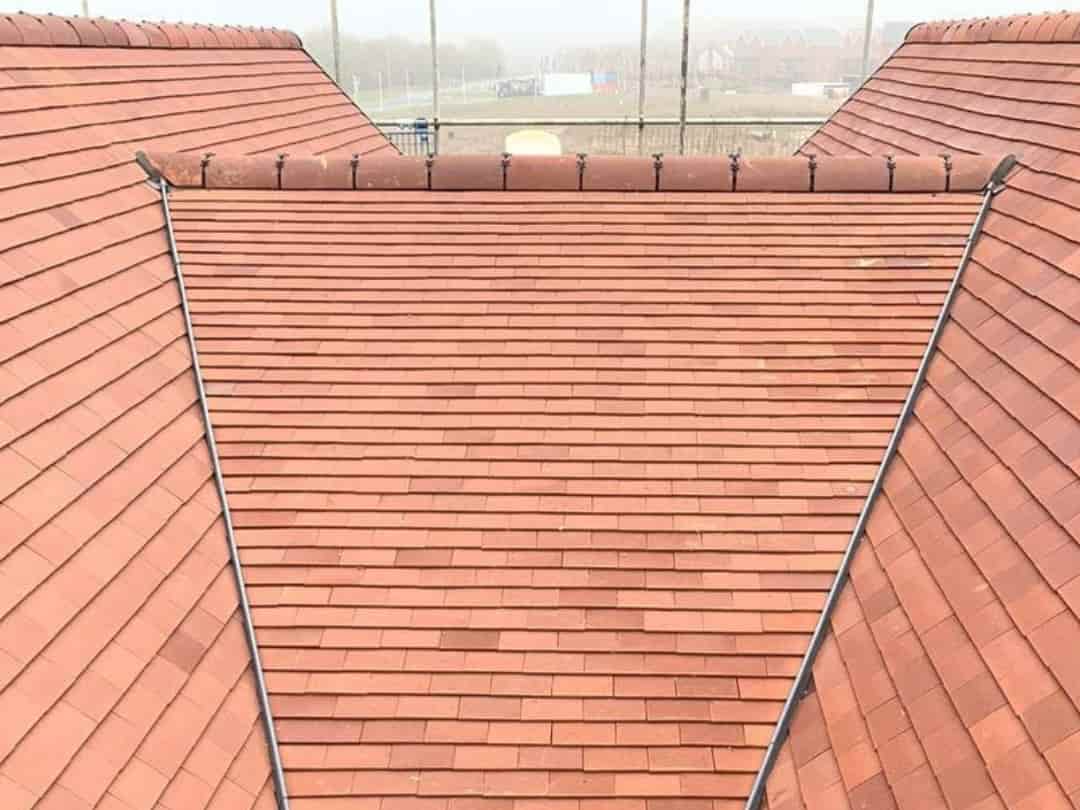
Step 5: Installation of Roofing Materials
With the underlayment and flashing in place, it’s time to install the new roofing materials. Choose roofing materials that are durable, weather-resistant, and compatible with the design and architecture of your home. Whether you opt for asphalt shingles, metal roofing, or tile roofing, follow manufacturer guidelines and industry best practices for proper installation to ensure a watertight seal and optimal performance.
Step 6: Finishing Touches and Cleanup
Once the new roofing materials are installed, complete the project by adding finishing touches such as ridge caps, hip caps, and edge trim to provide a clean and polished appearance. Perform a final inspection to ensure all components are installed correctly and there are no visible defects or issues. Finally, clean up the work area, remove debris, and dispose of materials responsibly.
Conclusion: Re-roofing a hipped roof is a complex and labour-intensive process that requires careful planning, attention to detail, and professional expertise. By following this step-by-step guide by Sevenoaks Roofers, you can ensure a successful re-roofing project that enhances your home’s durability, functionality, and aesthetic appeal. Whether tackling the project yourself or hiring professionals, proper technique and quality craftsmanship are essential for achieving a long-lasting and reliable hipped roof.
Call us on: 01732 440691
Click here to find out more about Sevenoaks Roofers
Click here to complete our contact form and see how we can help with your roofing needs.